


Introduction to Pre-Finishing
In woodworking, achieving a flawless final look depends as much on preparation as on the finishing product. Pre-finishing is a crucial series of steps that ensures the wood is ready to receive its final stain, varnish, or paint. By thoroughly preparing wood surfaces, both professionals and hobbyists can enhance the durability and beauty of their projects. Whether you are working on custom cabinetry, furniture, or trim, understanding proper pre-finishing is essential for quality results. For those seeking expert advice or specialized woodworking products, explore home improvement products Appleton, WI to get started.
Pre-finishing not only extends a finish’s longevity but also prevents issues such as blotching, uneven absorption, and premature wear. The process involves more than just cleaning or sanding, although those are vital steps. By working methodically through each stage, you reduce the risk of costly mistakes and ensure a high-quality result every time. Wood surfaces that are properly prepped allow finishes to adhere seamlessly and reveal the material’s natural character.
Cleaning the Wood Surface
The first and most overlooked part of pre-finishing is thorough cleaning. Begin by using a vacuum or brush to remove sawdust, dirt, and debris. Next, wipe the surface with a slightly damp, lint-free cloth to lift any remaining particles. For greasy or resinous woods, consider using a solvent such as mineral spirits. This ensures the surface is free from contaminants that could interfere with stain or finish adherence. Avoid using too much water, as excess moisture can raise the grain prematurely or cause warping. Making sure the wood is perfectly clean sets the tone for every subsequent stage of preparation.
Sanding Techniques for a Smooth Finish
Choosing the Right Grit Sequence
Sanding is a critical phase that impacts the smoothness and absorption of your finish. Start with a coarse grit, such as 80 or 100, especially for rough cuts or hardwoods. Gradually move up to finer grits such as 150 and finally 220. The type of wood dictates the grit sequence; softer woods may require less aggressive abrasion, while harder woods can withstand more aggressive abrasion. Always sand in the direction of the grain to avoid scratches that show through the final finish.
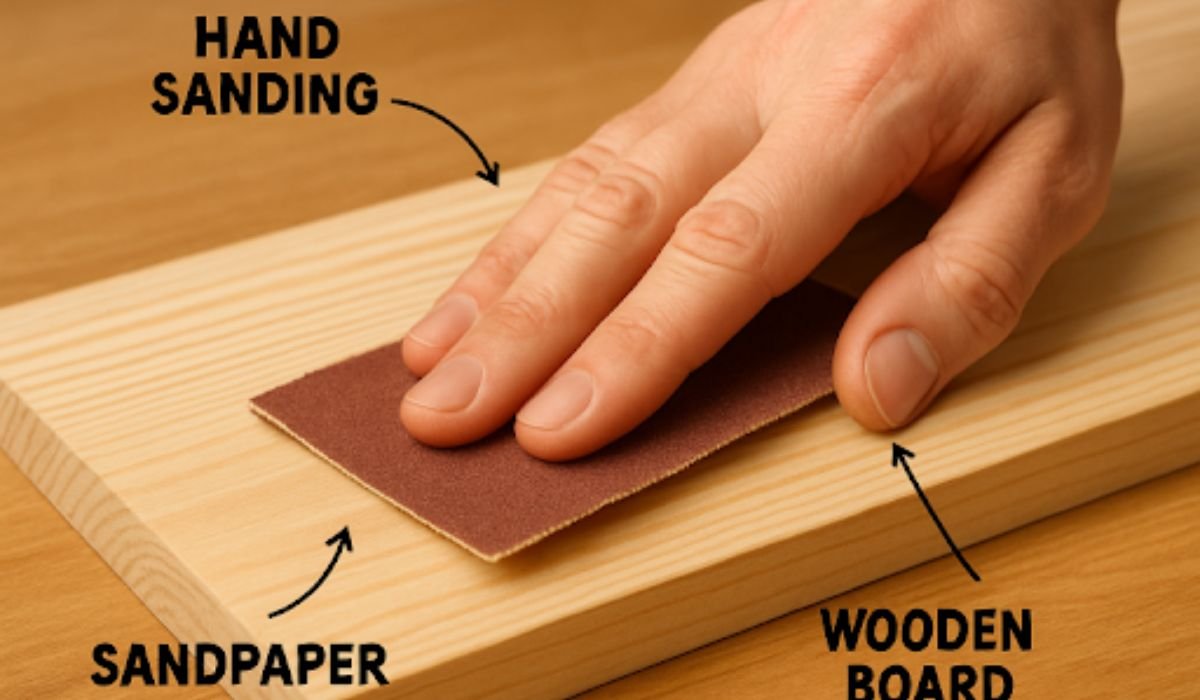
Hand Sanding vs. Power Sanding
Hand sanding provides control and finesse, ideal for edges and intricate details. Power sanding saves time on large, flat areas and is useful for initial smoothing. However, power sanders can leave marks if not used properly, so finish final passes by hand for the best results. Remember to inspect your progress under good lighting and feel the surface for imperfections before moving to the next grit.
Addressing Wood Imperfections
No wood is perfect, even premium grades. Look closely for cracks, small holes, dents, or knots that might mar the finished appearance. Use high-quality wood filler or putty, matching the color to your species whenever possible. Allow the filler to dry fully, then sand it flush with the surrounding surface. For furniture pieces, consider using a shellac-based primer over knots or resin pockets to prevent bleed-through after finishing. Taking time to correct these imperfections before the final finish results in smooth, professional-looking surfaces.
Raising the Grain: When and How
Raising the grain is the process of dampening the wood to cause the fibers to swell and stand up. After the first round of sanding, lightly wipe the surface with a damp cloth. Once dry, sand again with fine-grit paper. This step is particularly important if you will use a water-based stain or finish, as it raises the fibers that would otherwise stand up during application. The result is an ultra-smooth final surface and more even color absorption.
Applying Wood Conditioners and Sealers
Some wood species, especially softwoods like pine and maple, are prone to blotchy or uneven stain absorption. Applying a pre-stain conditioner or sanding sealer helps ensure uniform coverage and reduces the risk of unsightly blotching. Simply brush or wipe on the conditioner, allow it to soak in according to the product instructions, and then proceed with your stain or topcoat. Sealers can also reduce absorption rates, extending working time and providing a more forgiving surface for the finish.
Environmental Considerations
The conditions in your workspace significantly affect the results of pre-finishing steps. Both temperature and humidity influence drying times and how products interact with the wood. Ideally, work in a clean, dust-free environment with moderate humidity and consistent temperatures. Rapid changes in conditions can cause wood to expand, contract, or warp, affecting the evenness of both preparation and finishing steps.
Common Mistakes to Avoid
Hurrying through the preparation process is one of the most frequent mistakes, often leading to visible scratches, blotchy finishes, or contamination that ruins the final look. Another misstep is neglecting to change sandpaper at the appropriate intervals, which can lead to swirl marks or uneven surfaces. Overlooking the effects of environmental conditions or skipping the cleaning steps between grits can also undermine your efforts. By patiently addressing each stage, you safeguard against these common pitfalls.
Final Thoughts
Pre-finishing is an investment that pays off in the quality, appearance, and longevity of any wood project. Thorough cleaning, careful sanding, filling flaws, raising the grain where needed, applying wood conditioners, and controlling your environment all contribute to a surface ready for a flawless finish. When these essential steps are executed methodically, the final product will both look and perform to the highest standards. Master these fundamentals, and your woodworking projects will stand out for their professional look and enduring quality.