


Table of Contents:
- Why Roof Replacement Matters
- Evaluating Your Current Roof
- Preparing for Roof Replacement
- Selecting the Right Roofing Materials
- The Removal Process
- Installation: What to Expect
- Cleanup and Final Inspection
- Caring for Your New Roof
Why Roof Replacement Matters
Your roof is your home’s primary shield against rain, wind, and sun. Over time, even roofs built with quality materials become vulnerable to leaks, damage, or decay, threatening the safety and comfort of your living space. Neglect can lead to structural problems, increased energy bills, or even health issues like mold growth.
For those dealing with persistent issues or an older system, reaching out for expert roof replacement Charlotte, NC ensures your project is handled professionally. Understanding the steps of a proper replacement process can make all the difference in outcomes and long-term satisfaction.
Evaluating Your Current Roof
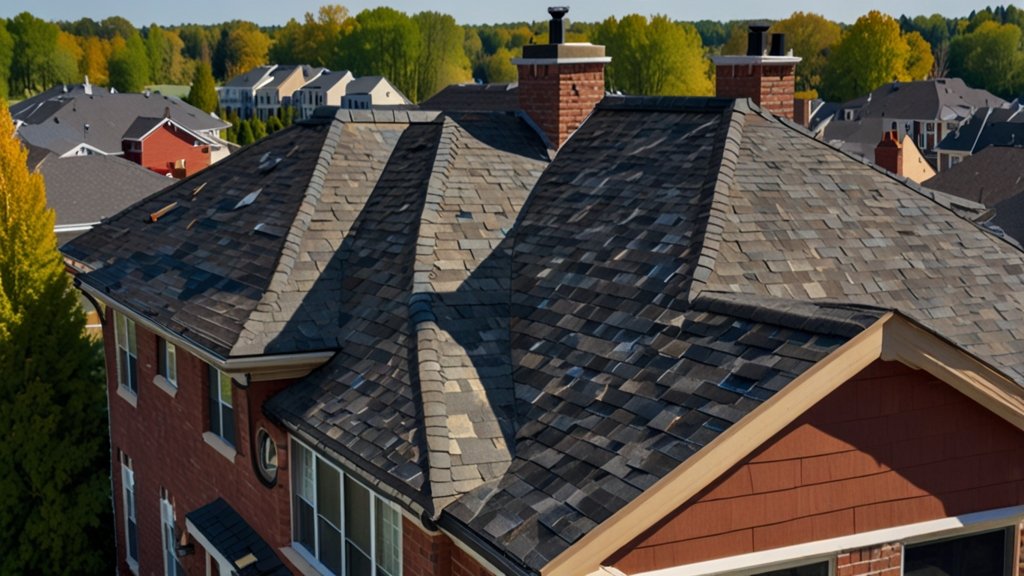
The process typically begins with a thorough assessment of your existing roof. Visual inspections look for signs like curling shingles, loss of granules, damaged flashing, leaks, and sagging. Sometimes, the attic is checked for moisture or daylight shining through, which signals more urgent repair or replacement needs. According to Consumer Reports’ roof replacement tips, keeping detailed records of your roof’s age and history can guide you toward the best timing for replacement. Professional inspectors may use drones or infrared tools for a deeper analysis, ensuring no hidden problems are missed.
Preparing for Roof Replacement
Preparation is key before any shingles or tiles come off. Contractors will check permit requirements, order materials, and review safety plans. Property owners should clear their driveways, move vehicles, cover attic items, and secure pets. Trees near the house may be trimmed back, and outdoor furniture may be moved to prevent damage. Setting expectations for the project’s length and daily working hours helps minimize disruptions and keeps the project on schedule.
Safety is a major concern during any major home construction. Reputable contractors always use safety gear, barricade work zones, and take steps to dispose of old roofing materials properly. The coordination of delivery trucks, disposal bins, and material storage should also be discussed before work begins.
Selecting the Right Roofing Materials
Your choice of materials impacts not only the roof’s longevity but also your home’s energy efficiency and curb appeal. Asphalt shingles are the most widely used, prized for their balance of affordability and decent lifespan. Metal roofing offers durability and resistance in extreme weather; architectural shingles and tiles provide enhanced protection and a premium look. According to the New York Times’ guide on roof materials, options like solar tiles or reflective membranes may further improve long-term energy savings. It’s wise to evaluate your local climate, neighborhood restrictions, and warranty options when choosing materials so that your investment performs for decades.
The Removal Process
On installation day, professionals begin by removing the old roof covering. This process can be noisy and may generate a fair amount of debris. Experienced crews use special tools to lift off shingles or tiles without damaging the underlying structure. As each layer is removed, the deck is checked for rot or water damage, which, if found, is addressed before proceeding. Temporary tarps or coverings are used if the weather turns, ensuring your home remains protected.
Centralizing disposal by immediately loading old material into bins helps maintain job site organization and safety. Responsible contractors follow recycling or eco-friendly disposal practices, reducing the environmental impact of your project.
Installation: What to Expect
With the deck cleaned and prepped, roofers install ice and water shields, underlayment, and flashing in valleys, around chimneys, and along edges for moisture control. Shingles, tiles, or panels follow precise patterns to maximize water resistance and longevity. Quality control measures—from double-checking nail placement to inspecting seams—ensure the new system exceeds building codes and warranty standards.
Weather, roof complexity, and material choice determine how long the installation will take, but good communication with your contractor prevents surprises. Homeowners can expect some noise and minor vibration inside the house, though reputable teams clean up debris at the end of each workday.
Cleanup and Final Inspection
Once installation is complete, a thorough cleanup ensures all nails, debris, and leftover materials are removed from your property. Crews sweep yards and driveways with magnets to catch stray metal, protecting children, pets, and lawn equipment. The contractor conducts a walk-through, checking every detail for proper sealing, flashing, and shingle alignment.
During the final inspection, warranty documentation is provided, and homeowners can ask questions or raise concerns. Keeping digital photos and a copy of all paperwork helps provide peace of mind and is useful for future real estate or insurance needs.
Caring for Your New Roof
Maintenance begins as soon as your new roof is installed. Regularly clearing gutters, removing debris, and scheduling annual professional inspections preserve the integrity of your investment. Trimming back overhanging branches and staying alert for signs of damage after storms ensures problems are caught early, long before they turn into expensive repairs.
Roof warranties often require basic maintenance, so keeping records of all inspections and repairs is essential. Proactive care helps you enjoy the full lifespan and value of your new roof, ensuring your home remains secure, attractive, and efficient for years to come.
YOU MAY ALSO LIKE; Modern Roofing Trends That Enhance Home Value and Comfort